 Save
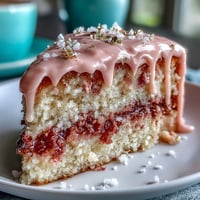
Save There's something magical about baking a cake for someone stepping into a new chapter of their life. My cousin called me in a panic two days before her graduation dinner, asking if I could make something special that would sit proudly on the dessert table alongside all those store-bought options. I found myself at midnight, sketching out a vision of vanilla cake with buttercream roses, and by the time she arrived to pick it up, I knew this wasn't just dessert—it was edible celebration.
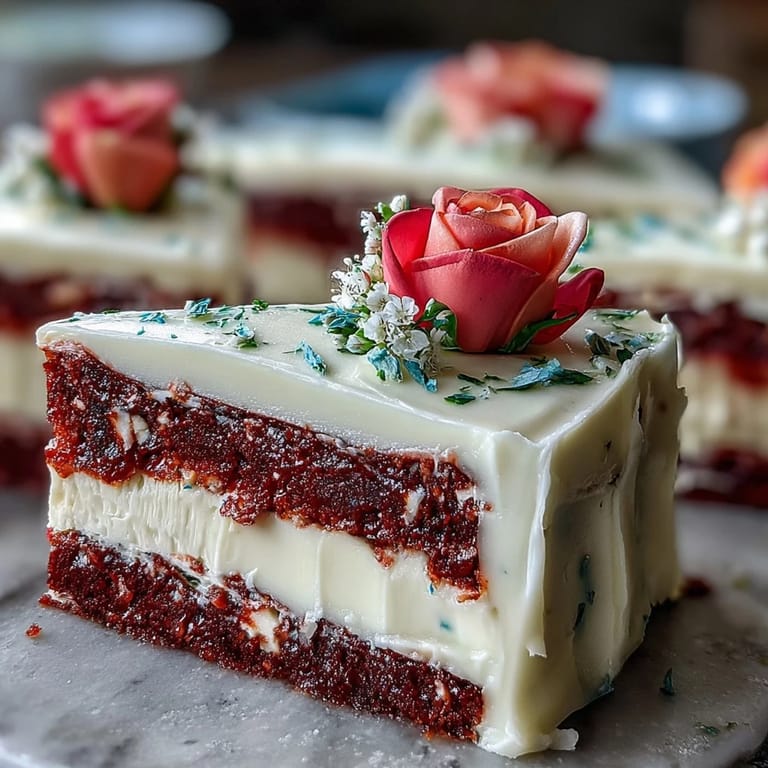
I'll never forget the moment my cousin's roommate took that first bite and got completely quiet—the kind of quiet that means something just made sense on their tongue. The cake had been sitting at room temperature for two hours, and every element was exactly where it should be: moist crumb, smooth frosting, those roses catching the afternoon light. That's when I realized this recipe wasn't about complexity; it was about giving yourself permission to make something that feels fancy and tastes like comfort.
Ingredients
- All-purpose flour (3 cups): Room temperature ingredients are non-negotiable here, and that goes for your flour too—measure it by spooning and leveling, never scooping straight from the bag.
- Baking powder and baking soda (2½ tsp and ½ tsp): These work together to give you that tender crumb and subtle lift without heaviness.
- Salt (½ tsp): A small amount that amplifies the vanilla without announcing itself.
- Unsalted butter for cake (1 cup): Softened to the point where your finger leaves a gentle indent—not melting, not cold.
- Granulated sugar (2 cups): Creaming this with butter for 3-4 minutes incorporates air that makes the cake rise properly.
- Large eggs (4): Room temperature eggs emulsify smoothly into the batter, creating a tender structure.
- Vanilla extract (1 tbsp): Pure vanilla, not imitation, makes a noticeable difference in flavor depth.
- Whole milk (1¼ cups): Room temperature milk alternated with flour keeps the batter from becoming tough or greasy.
- Unsalted butter for buttercream (1½ cups): Softened to the same gentle indent stage, this is your frosting foundation.
- Powdered sugar, sifted (6 cups): Sifting removes lumps that would create a grainy texture no matter how long you beat it.
- Whole milk for frosting (¼ cup): Adjustable based on humidity—add a tablespoon at a time if your buttercream seems stiff.
- Vanilla extract for frosting (2 tsp): A second vanilla hit that rounds out the frosting flavor.
- Gel food coloring: Gel holds vibrant color without adding extra liquid that thins the buttercream, unlike liquid coloring.
Tired of Takeout? 🥡
Get 10 meals you can make faster than delivery arrives. Seriously.
One email. No spam. Unsubscribe anytime.
Instructions
- Prep your pan and preheat:
- Set your oven to 350°F and grease that 12x18-inch pan generously, then line it with parchment paper so the cake slides out without sticking or breaking at the edges. This is especially important for a sheet cake that's going to be frosted and decorated.
- Combine your dry ingredients:
- Whisk flour, baking powder, baking soda, and salt in a medium bowl until the baking soda is evenly distributed—clumps will create dense pockets in the baked cake. This whisking is worth the 30 seconds it takes.
- Cream the butter and sugar:
- Beat them together for 3-4 minutes until the mixture is pale and fluffy, which means air pockets have formed that'll make your cake tender and light. You'll hear the mixer change pitch slightly when it's ready.
- Add eggs and vanilla:
- Add eggs one at a time, beating after each one so the mixture stays smooth and emulsified. Pour in the vanilla and mix until just combined.
- Alternate flour and milk:
- Start with flour, then milk, then flour again, always ending with flour—this prevents a greasy batter. Stop mixing as soon as you don't see white streaks anymore; overmixing develops gluten and makes the cake tough.
- Bake until golden:
- Pour into your prepared pan, smooth the top with an offset spatula, and bake for 30-35 minutes until a toothpick inserted in the center comes out clean or with just a few moist crumbs. The cake will smell like vanilla heaven.
- Cool completely:
- Let the cake cool in the pan on a wire rack for at least an hour before frosting, or do what I do and make it the day before—cooler cakes are easier to frost.
- Make your buttercream:
- Beat softened butter until creamy, then gradually add sifted powdered sugar while the mixer is running, scraping down the bowl often. Add milk and vanilla, then beat for about 5 minutes until the frosting is fluffy and light—taste it and adjust vanilla or sugar to your preference.
- Tint your frosting:
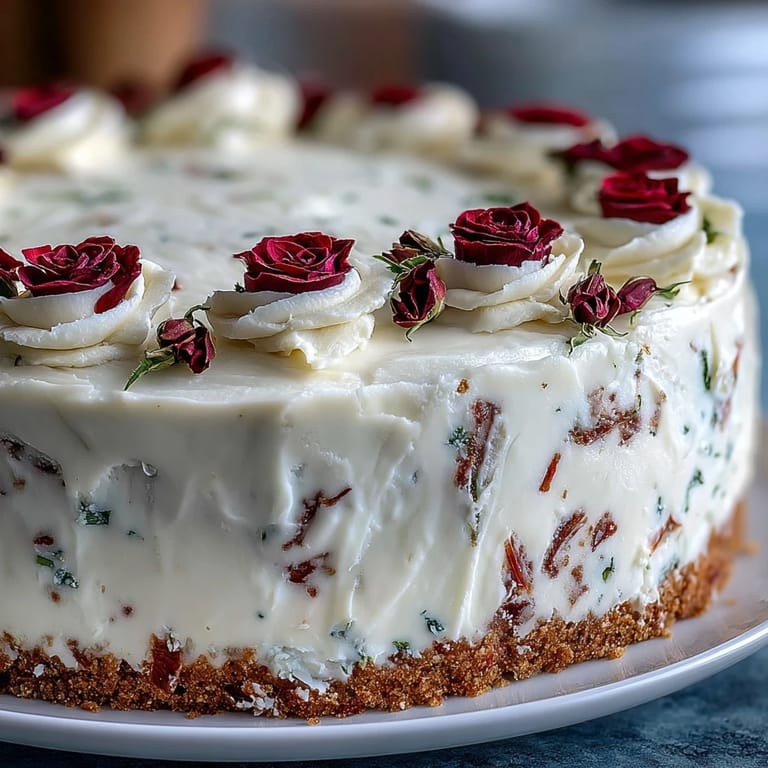
- Divide the buttercream into bowls and add gel coloring drop by drop, mixing until you reach the shade you want—gel coloring is concentrated, so a little goes a long way. I usually make soft pink, deep red, pale yellow, and green for leaves, plus keep some white for the base.
- Frost the base layer:
- Spread a thin, even layer of white buttercream over the cooled cake using an offset spatula—this crumb coat prevents loose cake particles from showing through when you pipe the roses.
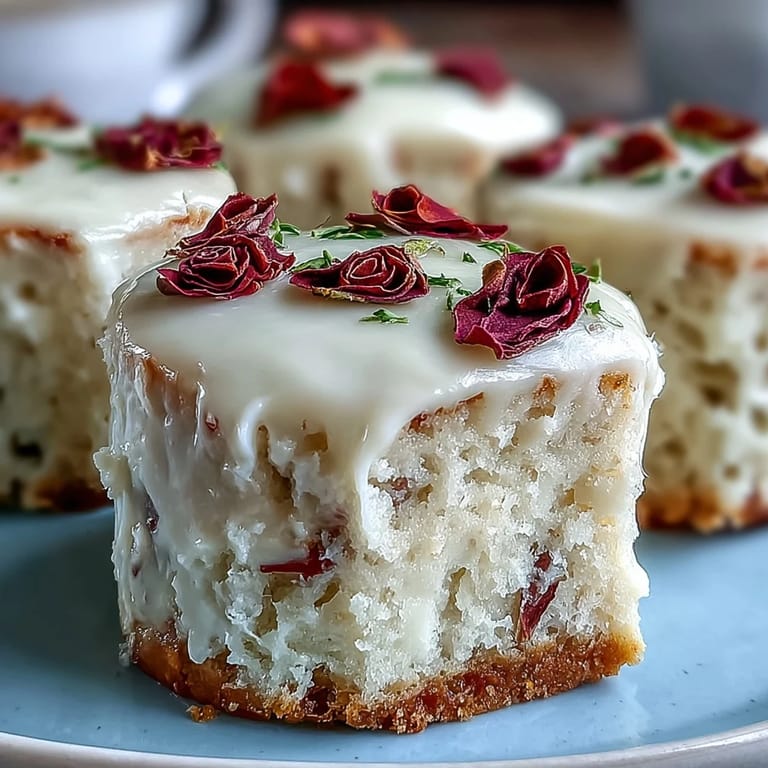
- Pipe your roses:
- Fit piping bags with petal tips and fill with your colored buttercream—pink and red for blooms, yellow for accents, green for leaves. Start by piping a small mound in the corner or along the border, then pipe overlapping petals around it to create a rose shape; YouTube tutorials are your friend here if you're new to this.
- Add your message:
- Use a small round piping tip and white or contrasting buttercream to write a personalized graduation message, keeping letters simple and large enough to read from a distance.
 Save
Save What surprised me most wasn't the taste or even how impressive the cake looked—it was how many people came back to ask for the recipe. At graduations, we're celebrating skill and growth and someone becoming ready for what's next, and somehow, a cake that takes two hours and a little piping practice says all of that without words.
The Chocolate Variation
If vanilla feels too plain for your celebration, swap ¾ cup of the flour for ¾ cup of unsweetened cocoa powder, keeping everything else the same. The cocoa makes the cake darker and richer without being heavy, and the buttercream roses pop even more dramatically against a chocolate base. I've done this for chocolate-loving graduates, and the moist crumb stays just as tender.
Timing and Make-Ahead Strategy
The beauty of this cake is that it tolerates planning. Bake it the day before, let it cool, wrap the unfrosted pan tightly in plastic wrap, and it'll taste even better when the flavors have settled. Make your buttercream the morning of the party, store it in an airtight container at room temperature, and pipe the roses up to two hours before serving so they set slightly and hold their shape. If you're nervous about piping, practice on parchment paper first—extra buttercream isn't wasted, just sneak a taste as quality control.
Storage and Serving Suggestions
A frosted sheet cake sits happily at room temperature for up to two days, though you might want to cover it loosely with a cake dome or large box so it doesn't dry out or pick up fridge odors. If your kitchen is warm or you're serving it more than two days out, move it to the fridge where it'll keep for five days—just pull it out 30 minutes before serving so the frosting softens back to that spreadable texture. Pair slices with cold sparkling lemonade or champagne, depending on your celebration vibe.
- Leftover buttercream keeps in the fridge for two weeks and can be used for cupcakes or sandwiched between cookies.
- If a rose breaks during serving, just smooth it with a spatula and call it rustic charm—no one notices but you.
- Cut with a long serrated knife dipped in hot water and wiped clean between cuts for neat, pretty slices.
 Save
Save Every graduation cake I've made has been different in its details, but they all carry the same feeling: that someone took time to make something special, to practice, to care. That's what matters when the cake is cut.
Common Questions
- → What flour type is recommended?
Use all-purpose flour for a balanced texture and proper structure.
- → How do I achieve smooth buttercream?
Beat the butter until creamy before gradually adding powdered sugar and milk, whipping until light and fluffy.
- → Can I use gel food coloring for the roses?
Gel food coloring is preferred as it provides vibrant colors without thinning the buttercream.
- → What is the best piping tip for roses?
A petal piping tip creates delicate, realistic rose petals, while leaf tips add greenery accents.
- → How to store leftovers properly?
Keep covered at room temperature up to 2 days or refrigerate for up to 5 days to maintain freshness.